5-Minute Maple Nut Goodies Candy Recipe for Quick Homemade Joy
You ever get hit by a smell that stops you right there — like, wait, where did that memory come from?
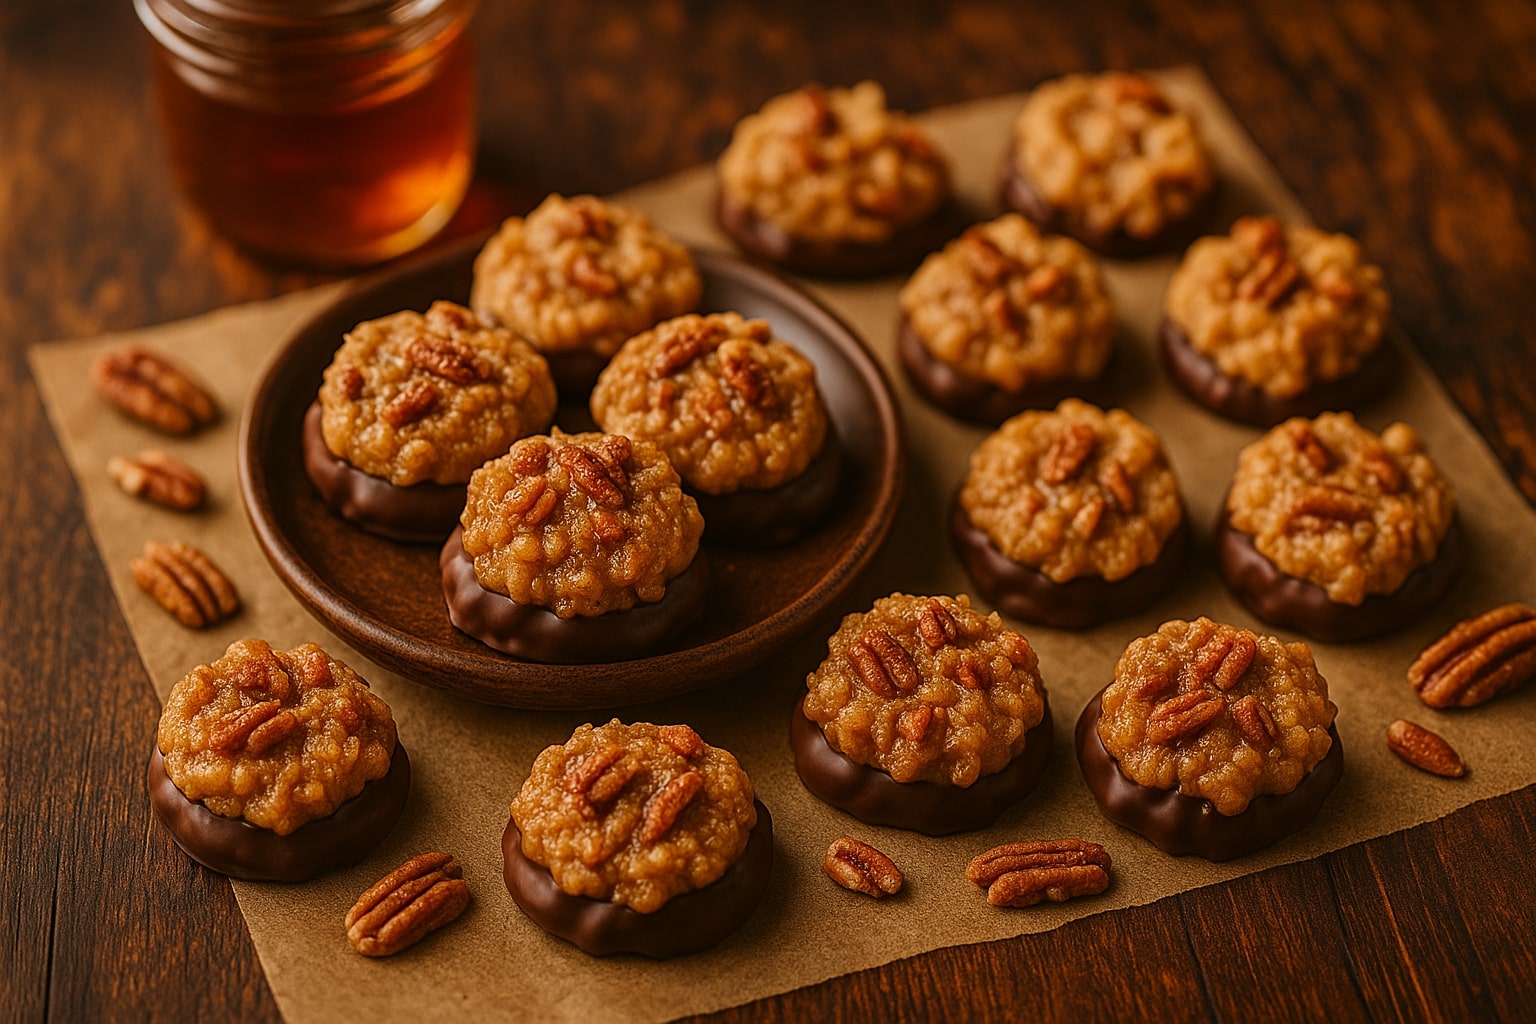
That’s what happened the first time I made this candy. Maple. Warm. Sweet. Like old wood floors and a grandma’s hug.
I wasn’t trying to be fancy. Honestly, I just had maple syrup and some leftover pecans. Thought I’d give it a shot.
Look, I won’t lie — I didn’t even measure things perfectly. But it still turned out ridiculously good.
This maple nut goodies candy recipe isn’t for perfectionists. It’s for people who want that bite of comfort… without overthinking it.
Why Everyone Loves This Maple Nut Goodies Candy Recipe
You know what’s funny?
I used to think “nut goodie” was just some old-fashioned term from a candy box in the ’70s. But then I made my own, and suddenly… I understood the hype.
This maple nut goodies candy recipe brings more than just sweetness. It hits that perfect balance between soft and crunchy, between deep maple flavor and the buttery bite of pecans. Honestly, it’s one of those things that makes your kitchen feel warmer just by making it.
People tell me it reminds them of Brach’s maple nut goodies — you know, the kind you’d find in a little dish at your grandma’s place? But this homemade version? It’s fresher. Softer. Just a little more personal.
And let’s talk maple for a second.
It’s not just a flavor — it’s a mood. That cozy, sweet smell when it hits a warm saucepan? No joke, it’s like autumn walked right into your house. Use pure maple syrup if you can — it makes a difference. There’s a reason we say pure maple. It’s richer, rounder. Like the difference between hum and harmony.
Whether you’re making this as a quick treat or tucking it into gift boxes, there’s something kind of magical about it. Maybe it’s the combination of sweet and roasted nuts. Or maybe it’s the feeling that you’ve made something that’s meant to be shared.
I don’t know. All I can tell you is this: I made it once… and then I made it again. And again.
You will too.
Ingredients You’ll Need
Let me tell you something real — the best thing about this maple nut goodies candy recipe is that the ingredients are so basic, you probably have half of them sitting in your kitchen already.
No complicated tools. No fancy candy molds. Just simple, cozy stuff.
Here’s what you’ll need to make maple magic happen:
Base Ingredients
-
Pure maple syrup — Don’t use the fake pancake stuff. Real maple syrup brings depth and that warm, sweet smell that makes your kitchen feel like fall. If you can get pure maple, even better.
-
Granulated sugar + powdered sugar — One gives the base; the other smooths the texture. And yes, powdered sugar is your secret weapon for that soft finish.
-
Vanilla extract — A tiny splash gives it that bakery-style finish. Trust me, it matters.
-
Pecans — You can use walnuts if that’s what you’ve got, but pecans? They bring that buttery, mellow crunch that pairs perfectly with the maple flavor.
-
Evaporated milk — This one keeps it creamy without feeling heavy. No, regular milk won’t work the same.
Optional (But Awesome)
-
Chocolate chips or melt chocolate — Want to go the nut goodie bars route? A thin chocolate layer makes it irresistible.
-
Maple extract — If your syrup’s not strong enough, a drop of this brings the flavor forward without adding sweetness.
Kitchen Tools That Help
-
Saucepan (preferably large) — Maple syrup bubbles up fast, so give it space.
-
Wooden spoon or spatula — You’ll want something sturdy for stirring the maple mixture — it gets thick, quick.
-
Candy thermometer — Not required, but helpful to avoid going past the soft-ball stage (especially if you’re like me and get distracted easily).
-
Parchment paper or a baking sheet with parchment — Candy sticks. Don’t skip this. Trust me.
-
Airtight container — Once they cool, store them in an airtight container at room temperature or in the fridge if your kitchen gets warm. Either way, they stay fresh.
You don’t need anything fancy. You just need a little time, a little heat, and a whole lot of sweet maple flavor.
Ready to get cooking? Let’s move into the process next. 🍬🔥
Step-by-Step: How to Make Maple Nut Goodies
1. Prepare the Maple Mixture
Start by grabbing a large saucepan — and don’t go small here, trust me. Maple syrup can get wild once it starts bubbling.
Pour in your pure maple syrup, granulated sugar, and evaporated milk. Keep the heat at medium — not low, not high. Let it warm slowly while you stir gently with a wooden spoon or spatula.
Here’s the key: Don’t walk away.
The moment that maple mixture hits the soft-ball stage, things move fast. If you’re using a candy thermometer, aim for around 235°F (but it’s okay if you don’t — just watch for the thick, glossy texture).
You’ll know it’s ready when the bubbles start to slow and the scent turns deep and caramel-like.
2. Add the Nuts and Flavor
Now toss in the pecans and a touch of vanilla extract.
If you’ve got maple extract on hand, add a drop here. Not required, but it gives the candy that rich, almost smoky maple flavor that hits just right.
Stir gently — you don’t want to crush the nuts.
And hey, if you’re into cozy recipes, you might love this homemade hot cocoa mix recipe without powdered milk. I like to make it on the side when I’m gifting these candies — kind of a “comfort bundle,” you know?
3. Shape and Cool
Line a baking sheet with parchment paper or a prepared baking sheet (don’t skip it — sticky candy is a pain to scrape off later).
Pour the mixture out slowly, spreading with a spatula. You can cut into bars or just go freeform with bite-sized drops.
Let it cool on the counter, or refrigerate if you’re in a hurry or your kitchen runs warm.
Once cooled? Just store them in an airtight container. They’ll stay good for days — though honestly, they rarely last that long.
This part is where the magic happens — the scent, the texture, the slight stickiness on your fingers. That’s the charm of a homemade candy like this.
Recipe Tips to Perfect Your Maple Nut Goodies
Tips to Nail the Perfect Batch (Every Time)
Let me tell you something real — candy is weird. It looks easy until it suddenly… isn’t. But don’t worry, this isn’t one of those recipes that punishes you for being human.
Here are a few tips I’ve learned (some the hard way):
1. Monitor the Temperature Closely
Don’t guess. Use a candy thermometer if you’ve got one. The sweet spot is around 235°F.
Too low? Your goodies stay gooey.
Too high? They harden like bricks.
I once walked away for literally 90 seconds — came back to a burnt, sticky mess that smelled like regret. Don’t be me.
2. Cool the Right Way
If you’re short on time, go ahead and store in refrigerator after shaping. It helps the candy set faster without changing flavor.
Otherwise? Let them cool on the counter for a softer bite.
And once they’re cooled, always store them in an airtight container. Humidity kills texture fast.
. Want More Maple Punch?
Add a drop of maple extract if your syrup is light. It deepens the sweet and nutty vibe without overloading the sugar.
4. Sharing? Make It Cute
Wrap these in wax paper, tuck into jars, or box them up with ribbon.
These goodies make perfect party favors or homemade gifts — and honestly, they feel more personal than store-bought candy ever could.
One Last Thing…
Always taste the warm mix before setting it. Just a little on a spoon. If it needs salt, chocolate, or a twist? You can still adjust. After it cools? Not so much.
Next up is the taste test section — where we’ll paint the mouthfeel, flavors, and the classic nostalgia of these goodies (and sneak in keywords like maple nut goodies taste, classic candy, and delightful combination).
The Maple Nut Goodies Taste Test
You know that feeling when something tastes just like you hoped… but also a little better? That’s what this candy does.
The maple nut goodies taste is more than just sweet. It’s buttery. Roasty. It melts in your mouth, but then there’s a crunch — the kind that makes you close your eyes for a second.
It reminds me of those classic candies you’d unwrap from shiny foil at the bottom of someone’s purse. Not perfect, but unforgettable.
There’s a delightful combination happening here:
-
the sweet maple flavor hits first
-
then the warmth from vanilla extract
-
finally, the nuttiness from the toasted pecans lingers in a way that makes you reach for a second piece (even when you said you wouldn’t)
And look, I’m not saying it’s better than the original Brach’s maple nut goodies — but it’s homemade, and that counts for something.
You can even experiment with other nuts, like almonds or hazelnuts, if you’re curious. I found a great guide on how to toast nuts perfectly — worth bookmarking if you want to try different textures.
So go ahead, take a bite. See what memory it brings back.
Frequently Asked Questions (FAQs)
Can I use honey instead of maple syrup?
Technically, yes. But it won’t be a maple nut goodies candy recipe anymore. Honey has its own vibe — floral, not woodsy. If you’re after that cozy maple depth, pure maple syrup really is the hero.
Do I need a candy thermometer?
Not a must, but helpful. You can go by sight — watch for thick, slow-moving bubbles in the maple mixture. If it coats the spoon like caramel and smells toasted (not burnt), you’re in the sweet spot.
How long can I store these goodies?
If you store them in an airtight container at room temperature, they’ll keep for 5 to 7 days. Want them to last longer? Just store in refrigerator and they’ll hold up beautifully.
Can I make these without nuts?
You can — but they won’t be nut goodies anymore. You might try puffed rice or shredded coconut for crunch, but honestly? The crunch of roasted nuts is what gives these their soul.
How do I make them look gift-worthy?
Easy: Wrap each piece in wax paper like old-school candies, or layer them in a tin with parchment. They also fit perfectly into jars for homemade gifts. Add ribbon and boom — thoughtful and tasty.
Final Thoughts on This Classic Candy Recipe
Sometimes, a recipe surprises you.
Not because it’s complicated — but because it’s not.
This homemade candy is a sweet treat in every sense. Made from scratch, made with love, and somehow… made better by its simplicity.
This recipe makes about two dozen bite-sized pieces — depending on how generous you are with scoops (or how many you eat while “tasting”). You can use a large saucepan over low heat if you’re worried about burning the maple sugar. Just go slow, let the sweet maple scent rise — it’s worth the wait.
After they cool, just tuck these nut goodies in an airtight container. Better yet, share them. Wrap them as gifts. Bring a little joy to someone’s day with a treat that feels like it came from your childhood — or the kind of day you wish you had.
This isn’t fancy candy.
This is feel-good candy.
And honestly? That’s what makes it special.